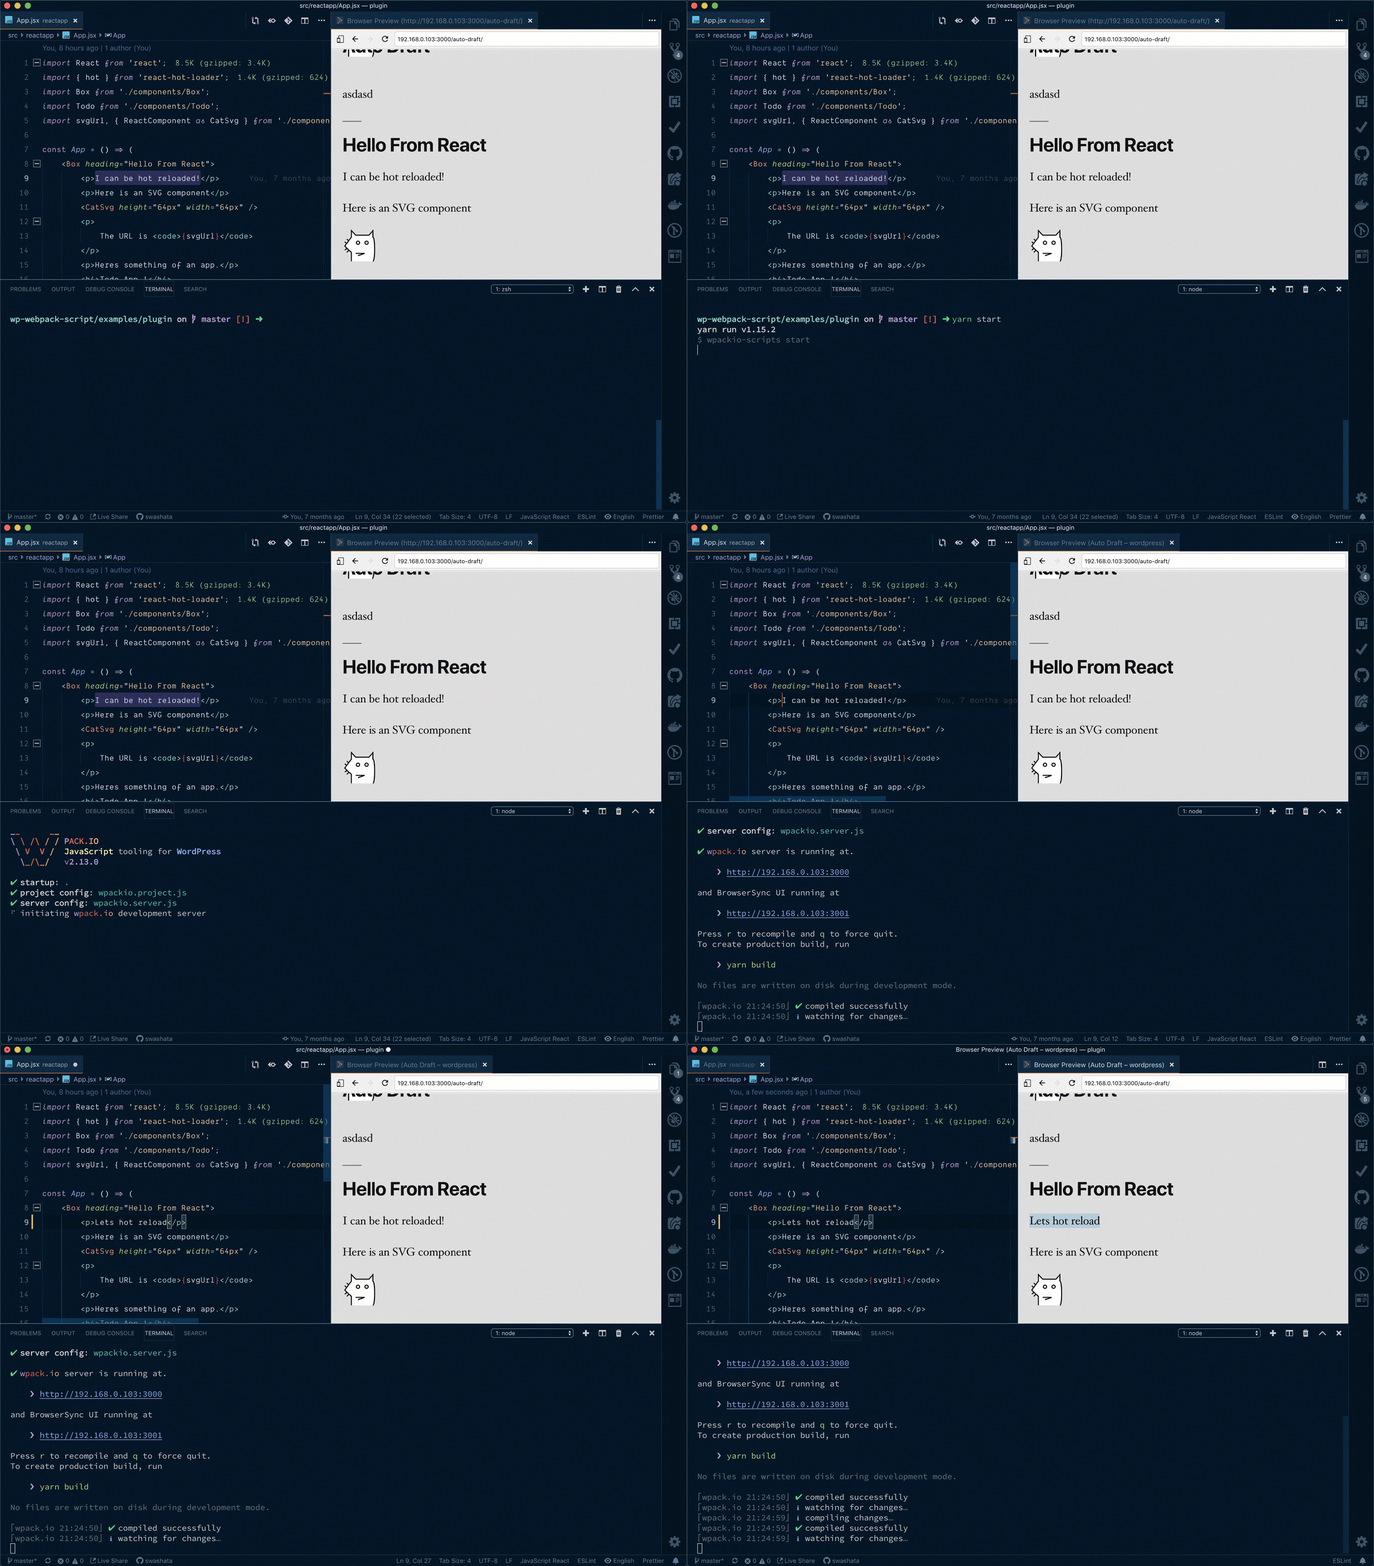
Start using development server
Promotion
WPEForm - No-code Drag-n-Drop WordPress Form Builder
Useful for payments, quotation, quizzes, conversations & user feedbacks of all kinds.
Now that we have all dependencies installed, it is time to start the development server. Remember that
wpackio-scriptsdoesn’t provide any WordPress development server.- You are free to use any local server, like wamp, mamp, vvv.
Let’s start by editing our wpackio.server.js file.
Edit wpackio.server.js file
Edit the file with your favorite editor and change the proxy, like…
module.exports = {
	// Your LAN IP or host where you would want the live server
	// Override this if you know your correct external IP (LAN)
	// Otherwise, the system will always try to get a LAN ip.
	// This will also create some issues with file watching because for
	// some reason, service-worker doesn't work on localhost?
	// https://github.com/BrowserSync/browser-sync/issues/1295
	// So it is recommended to change this to your LAN IP.
	// If you intend to access it from your LAN (probably do?)
	host: undefined,
	// Your WordPress development server address
	proxy: 'http://localhost:8080',
};
If your local WordPress development server is going to produce and URL to the
outputPath which is not of
the type /wp-content/plugins/<slug>/<outputPath>/ then you can override it
with the distPublicPath
settings.
Say you have local WordPress hosted under http://localhost/wp-one. Then put
distPublicPath like
module.exports = {
	host: undefined,
	// We still proxy the whole localhost
	proxy: 'http://localhost',
	// But we expect files to be served from this URL
	// of course change <slug> and <outputPath>
	// as defined in wpackio.project.js
	distPublicPath: '/wp-one/wp-content/plugins/<slug>/<outputPath>/',
};
This is the only thing you need to start the server. Under the hood, we use browser-sync to proxy the WordPress directory.
Start the server
Now from a terminal, run
npm start
This will boot up the development server and open up a browser window.
The files will be served from /wp-content/<plugins|themes>/<slug>/<outputDir>/
depending on your configuration.
Fine tune some proxy stuff
Under the hood, we proxy WordPress server that you have. It will work for 90% of the time. But in some cases, like with REST API or customizer, things might not work at first. Luckily there’s an easy fix.
Create a file wpackio-fix.php under wp-contents/mu-plugins and put the
following content
<?php
add_action( 'rest_api_init', function() {
	remove_filter( 'rest_pre_serve_request', 'rest_send_cors_headers' );
	add_filter( 'rest_pre_serve_request', function( $value ) {
		header( 'Access-Control-Allow-Origin: *' );
		header( 'Access-Control-Allow-Methods: GET' );
		header( 'Access-Control-Allow-Credentials: true' );
		header( 'Access-Control-Expose-Headers: Link', false );
		header( 'Access-Control-Allow-Headers: X-Requested-With' );
		return $value;
	} );
}, 15 );
add_action( 'customize_preview_init', function() {
	add_filter( 'wp_headers', function( $headers ) {
		$headers['Content-Security-Policy'] .= ' 192.168.1.144:3000';
		return $headers;
	} );
} );
Remember to use it only under your development server. Also change
192.168.1.144:3000 to your browser-sync URL (the one that opens).